Track Your Time (Pretty Much) Anywhere With Zapier & Paydirt

Here at Paydirt, we’re excited to announce our latest integration: Zapier! For those who have used Zapier before, you can probably already imagine how much flexibility this adds to your use of Paydirt. For everyone else, follow the steps below to get started!
Paydirt’s integration with Zapier opens up a new world of possibilities for integrating with your favorite Saas apps. Want to automatically sync your Paydirt clients to Zoho CRM? Or maybe you would rather sync your Zoho CRM clients to Paydirt? Perhaps you already have a good task management workflow with Todoist or Wunderlist, and want to have your to-dos show up in Paydirt. This and much more is now possible, thanks to Zapier.
Let’s walk through an example of how you might take advantage of the Zapier integration. In this example, we’ll create a Zap to create a new Google Contact for every new Paydirt client.
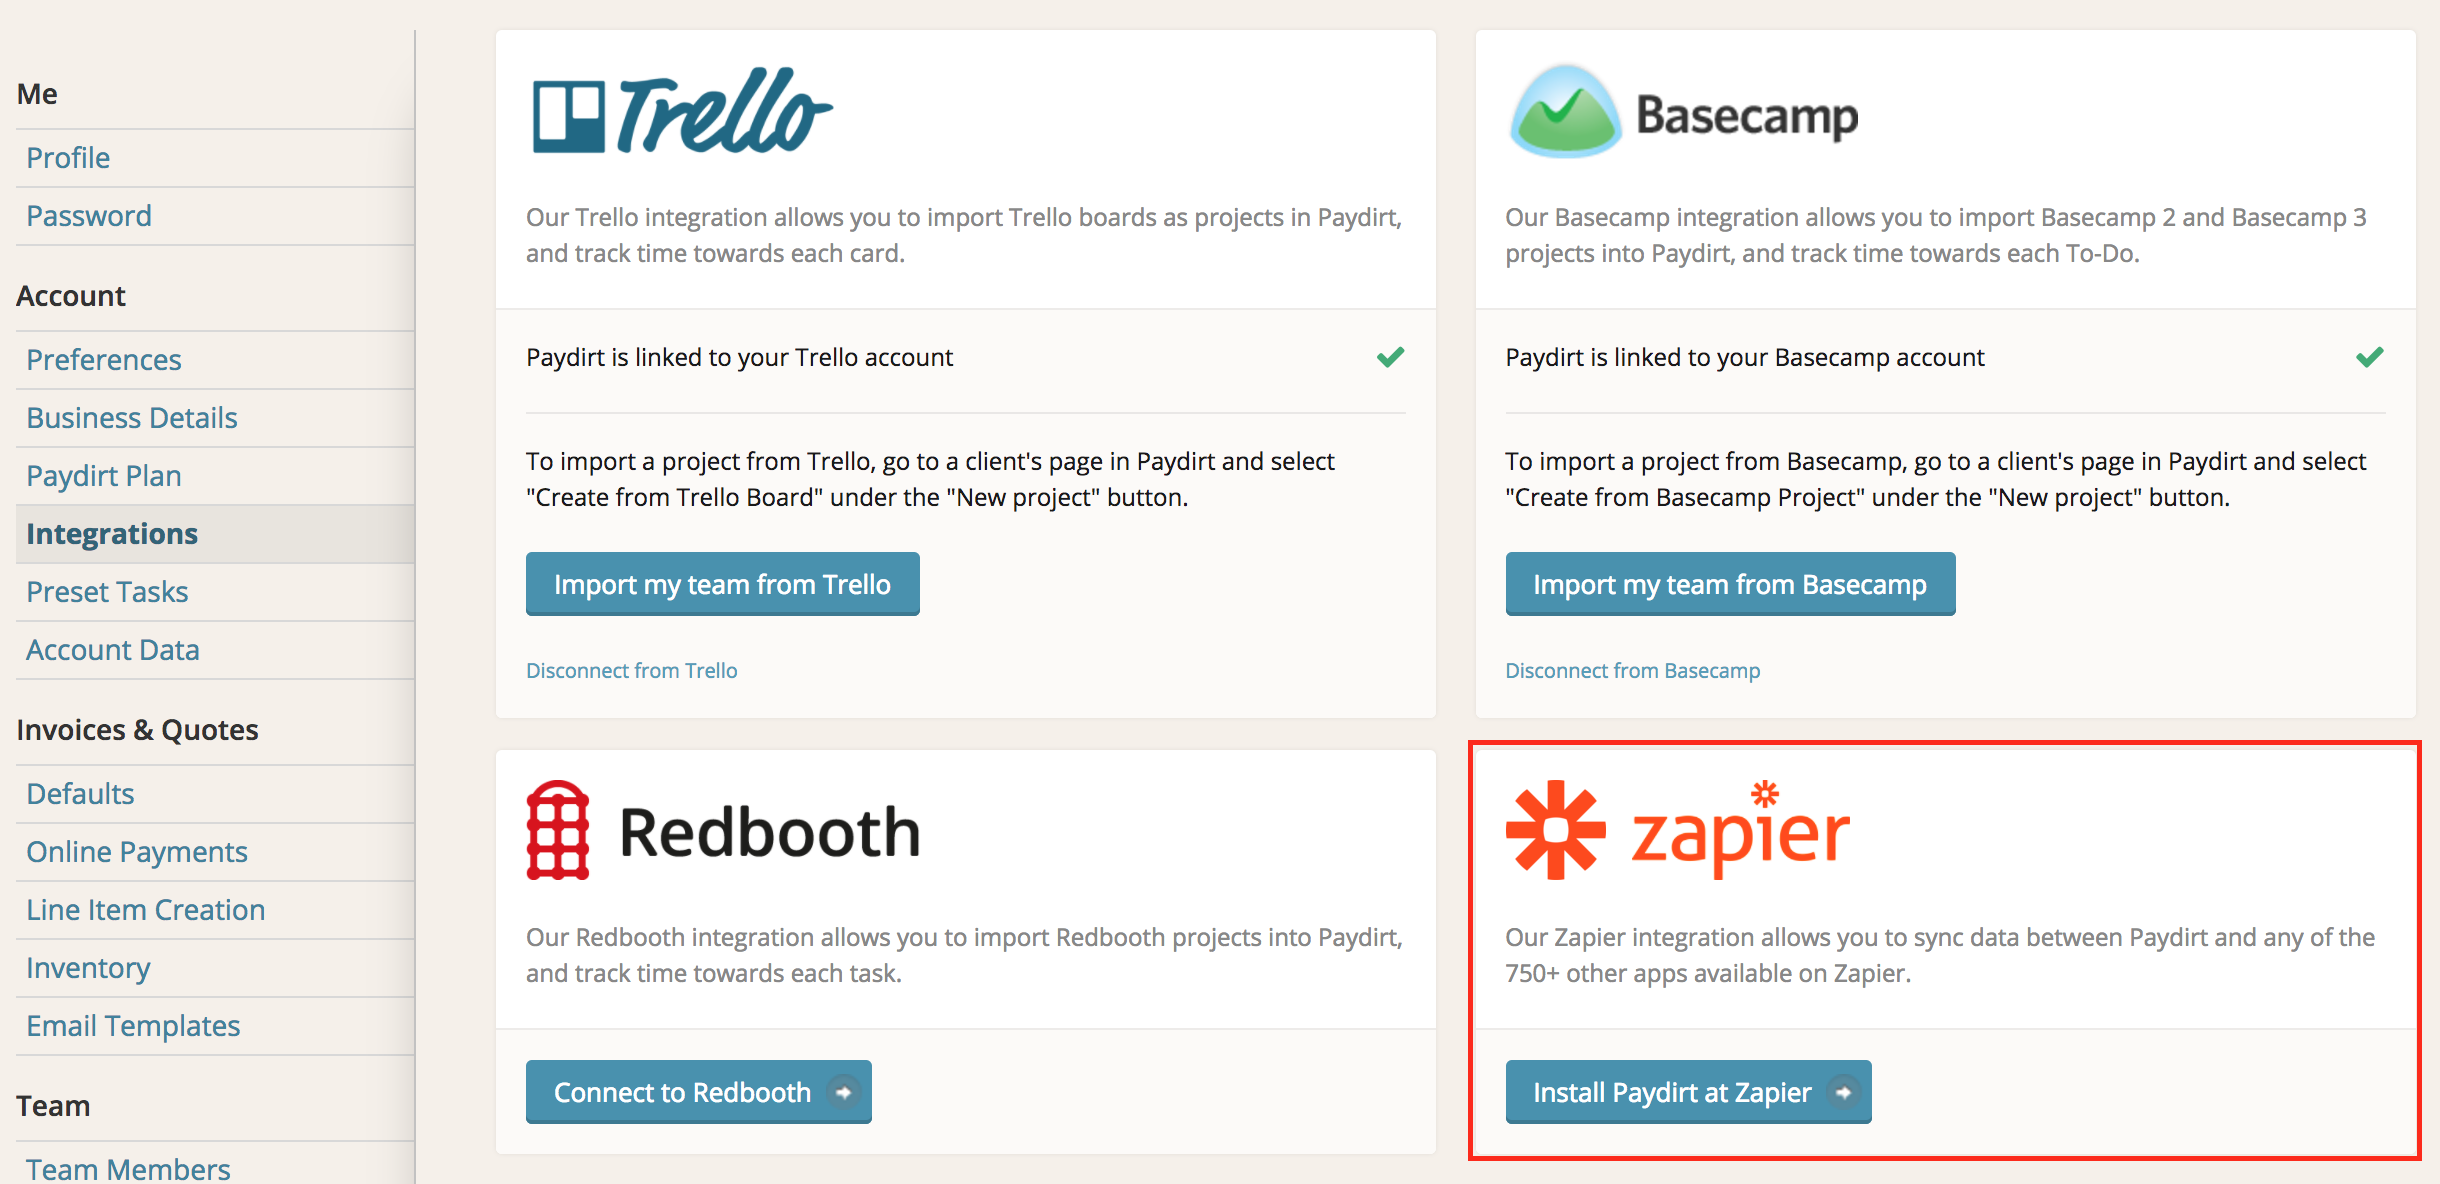
1. Since Paydirt’s Zapier integration is still in beta, you won’t be able to find it in the normal Zapier search. Instead, click our invitation link under your Paydirt Settings -> Integrations page.
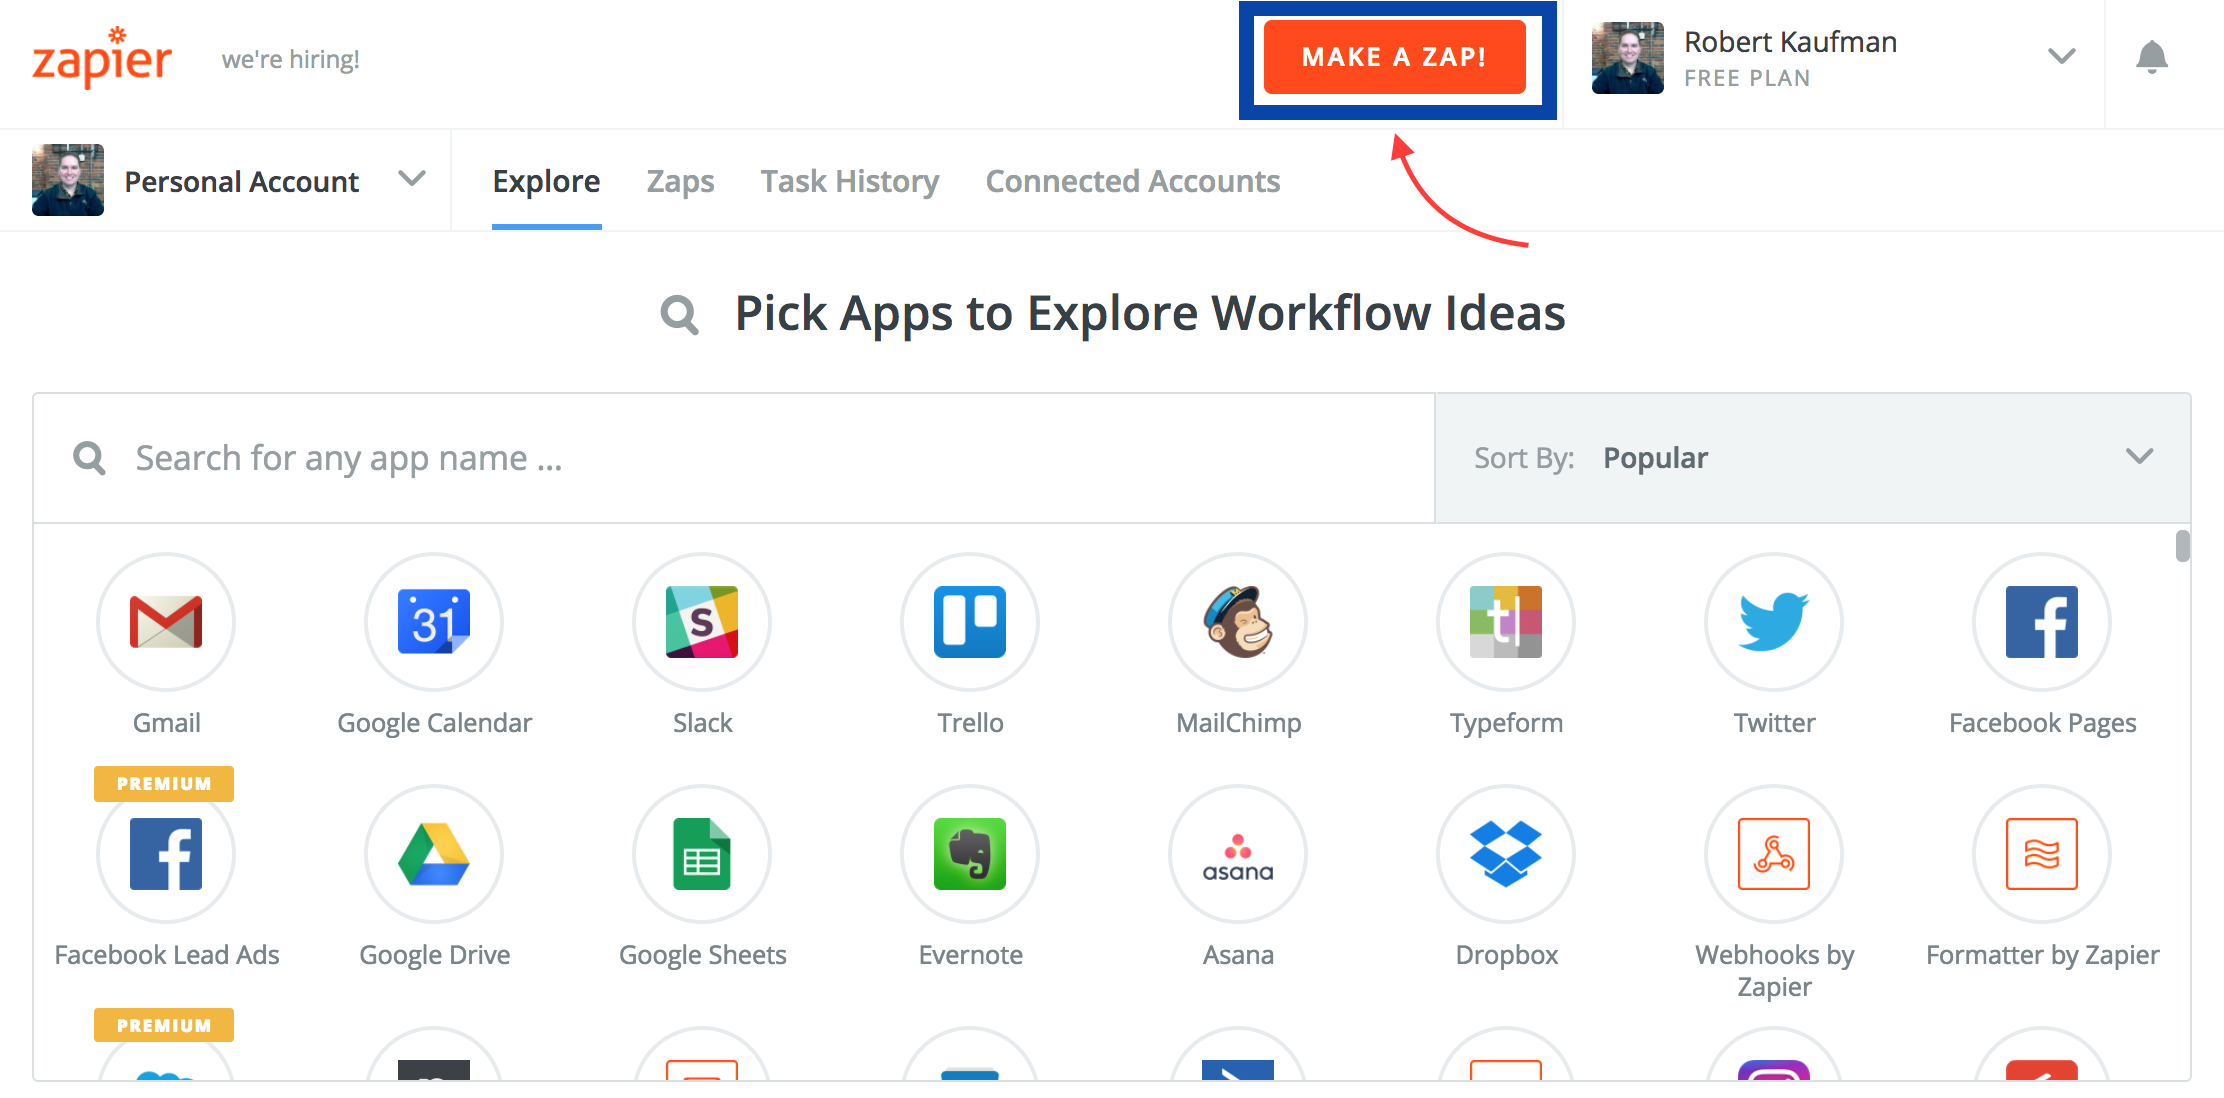
3. Then, at Zapier’s home page, find the red “Make A Zap!” button.
3. Next, when prompted to choose a trigger app, search for “Paydirt“.

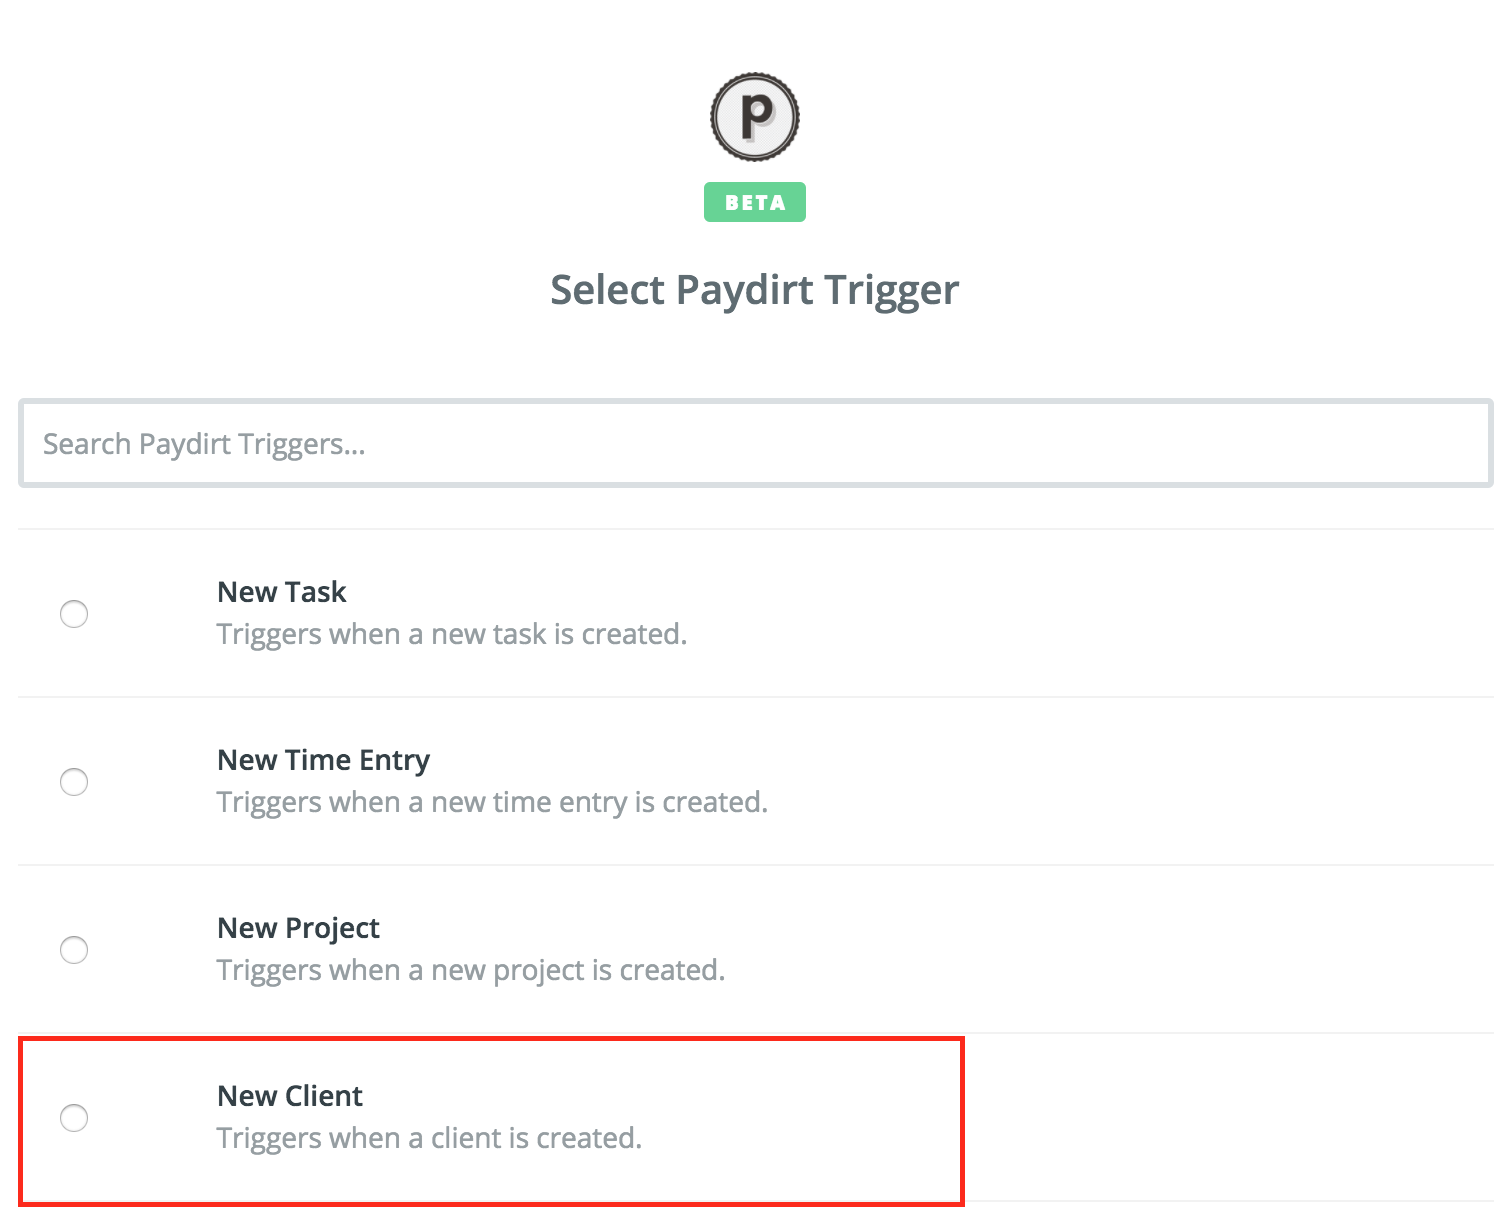
4. You’ll now see a list of some common Paydirt triggers. Press the “show less common options” link to show all available options, then choose the “New Client” trigger.
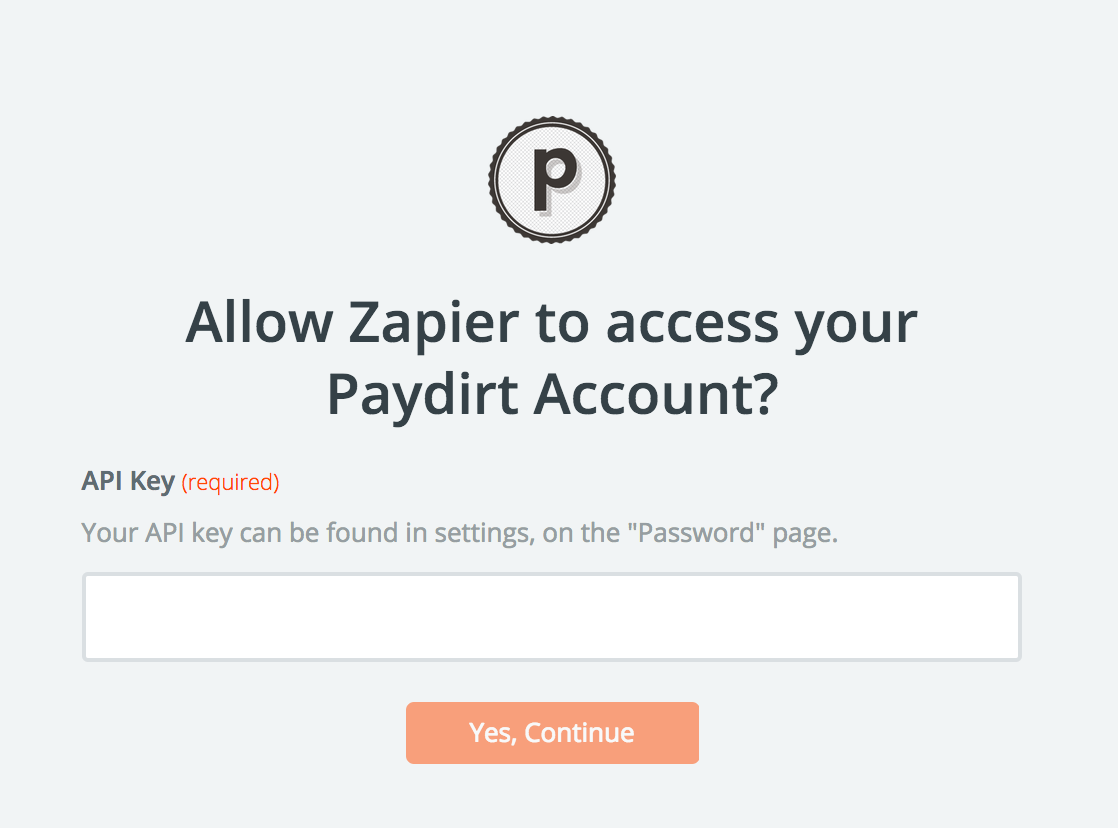
5. The next step will be to authorize Zapier to access your Paydirt account. Press the “Connect an Account” button. Zapier will open a popup prompting you for your Paydirt API key. You can find your API key from your Paydirt settings, under Me > Password.

6. Follow the prompts from Zapier to continue. When you get to the “Choose an Action App” step, search for and select Google Contacts. Then choose “Create Contact” as the action.

7. You’ll then be prompted to allow Zapier access to your Google account. Follow the prompts to do so.
8. You’ll need to tell Zapier how to map your Paydirt client data to Google Contact fields. The screenshot below shows only some of the fields that you are able to fill in. Use the buttons on the right side of the fields to choose from the Paydirt fields. You can also enter static text, as shown in the Comments field below.
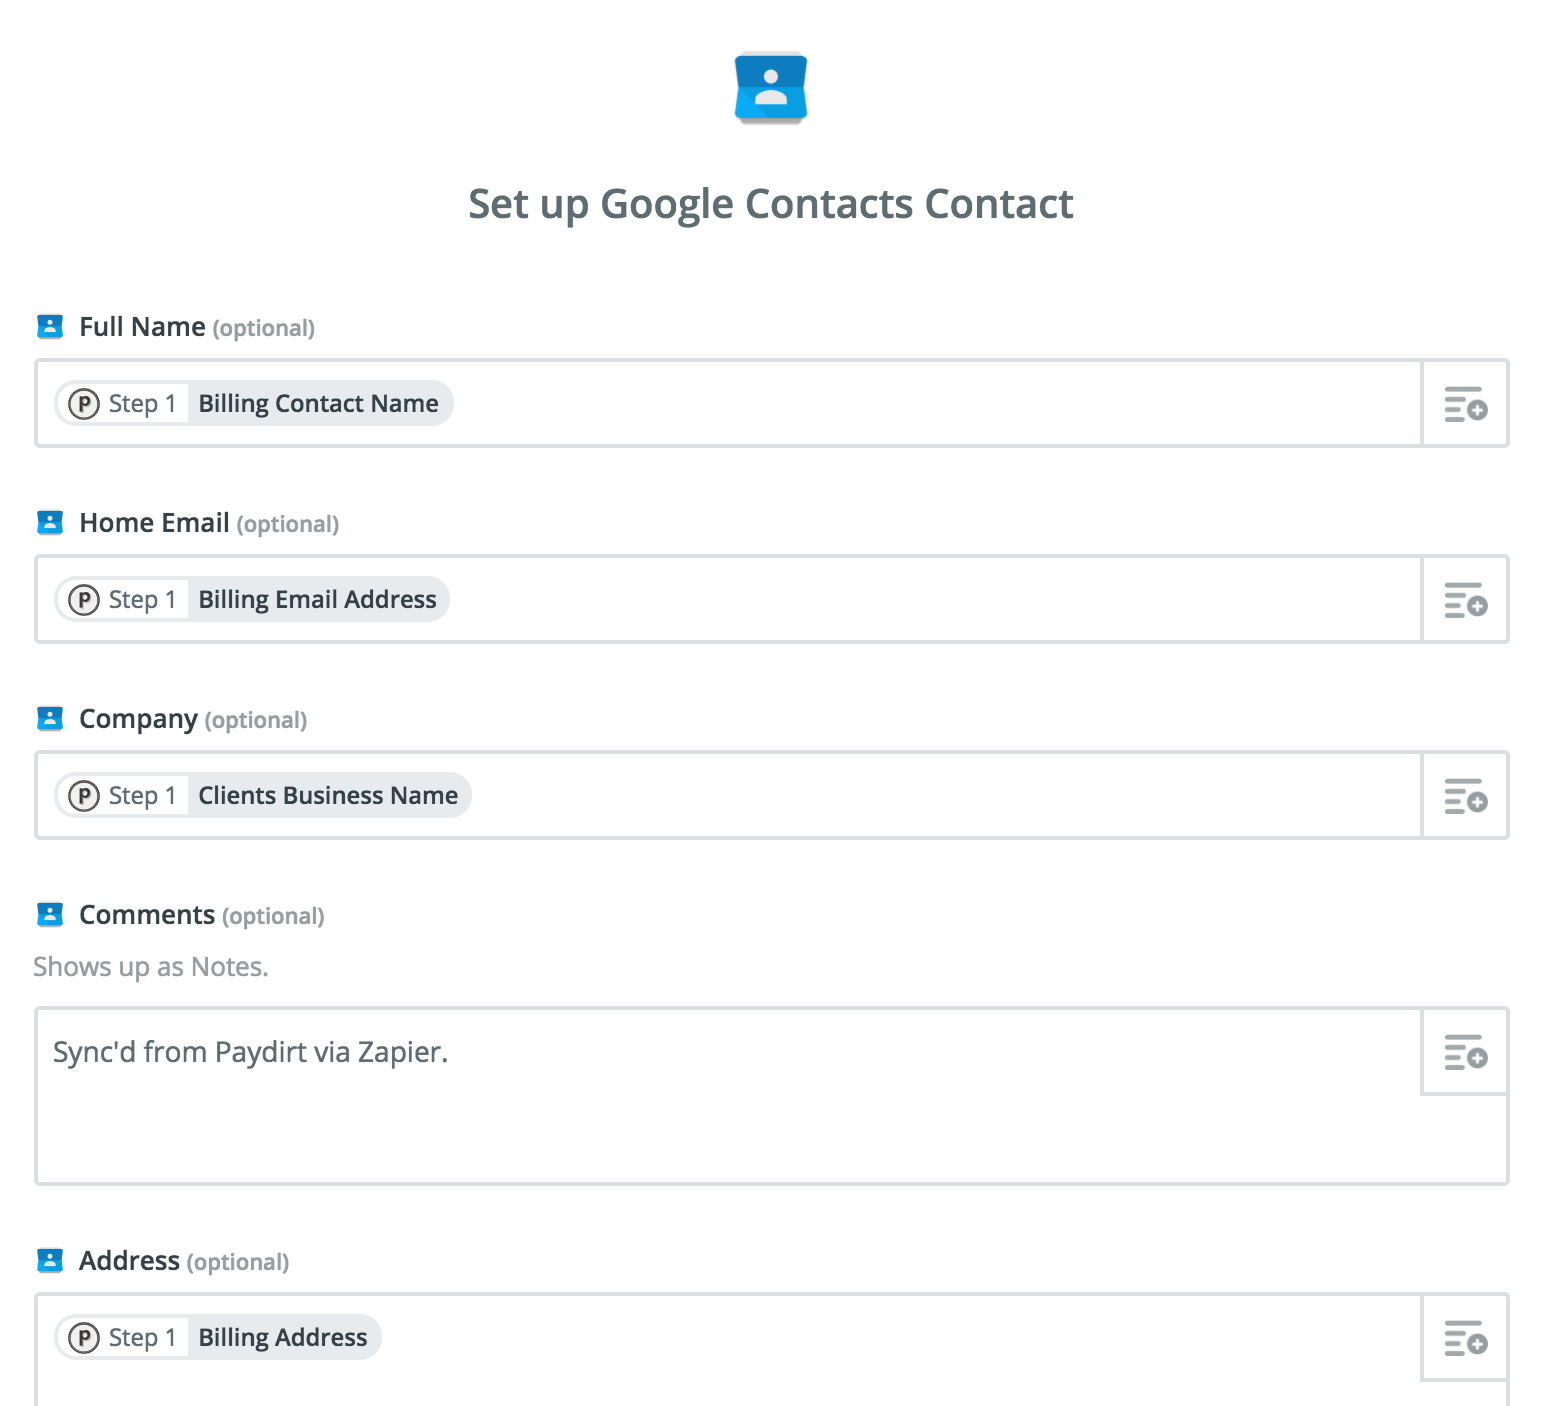
Now the final steps. Zapier will allow you to test your Zap to make sure that your new Google Contact is correct. After confirming this, you can enable your Zap so that it will run every 15 minutes. Then just name your Zap and you’re all set!
Simple Invoicing & Time Tracking
Quit worrying about tracking time, invoices and estimates and complicated software. We got you.

